Welcome to our "Process and Timeline of External Wall Insulation in the UK." If you are thinking about increasing your home’s energy efficiency and comfort with External Wall Insulation, you’ve come to the right place! In an era where energy costs continue to rise and environmental concerns are ever more pressing, homeowners across the UK are increasingly turning to solutions that make their homes more energy-efficient and comfortable. In this guide, we will walk you through the installation process of external wall insulation, detailing what it involves and the expected timeline for completion.

External Wall Insulation (EWI) is a process that involves attaching insulation to the exterior of walls. This is achieved using two layers: one for insulation and another for an outer layer made of either mineral or synthetic render. The outer layer provides both weather protection and aesthetic enhancement.
Commonly used materials for EWI include Expanded Polystyrene (EPS), Mineral Wool, and Phenolic Insulation, all secured by a durable, weatherproof finish that ensures insulation effectiveness regardless of weather variations.

Investing in EWI offers a wide range of advantages:
Installing external wall insulation demands meticulous attention to detail and professional expertise to ensure optimal results and compliance with all necessary safety measures and regulations. The system causes minimal disruption, as the majority of the work is conducted on the exterior of the house. Here, we outline the essential steps involved in the installation process:
The installation process begins with a comprehensive survey to determine if your property is suitable for EWI. A surveyor will visit your home to measure the external walls, establishing how much insulation is required. This assessment also identifies any additional preparatory work that might be needed. For instance, fixtures and fittings such as alarm systems, downpipes, outdoor lights, and satellite dishes attached to the external walls may need to be removed or adjusted to accommodate the insulation. The survey will outline the necessary preparations before any installation can begin.
At this point, scaffolding will be set up if needed to ensure that the installation team can safely access all areas of your exterior walls. This setup is crucial for allowing the insulation to be installed properly and securely. The scaffolding will only be taken down after the topcoat is completely dry.
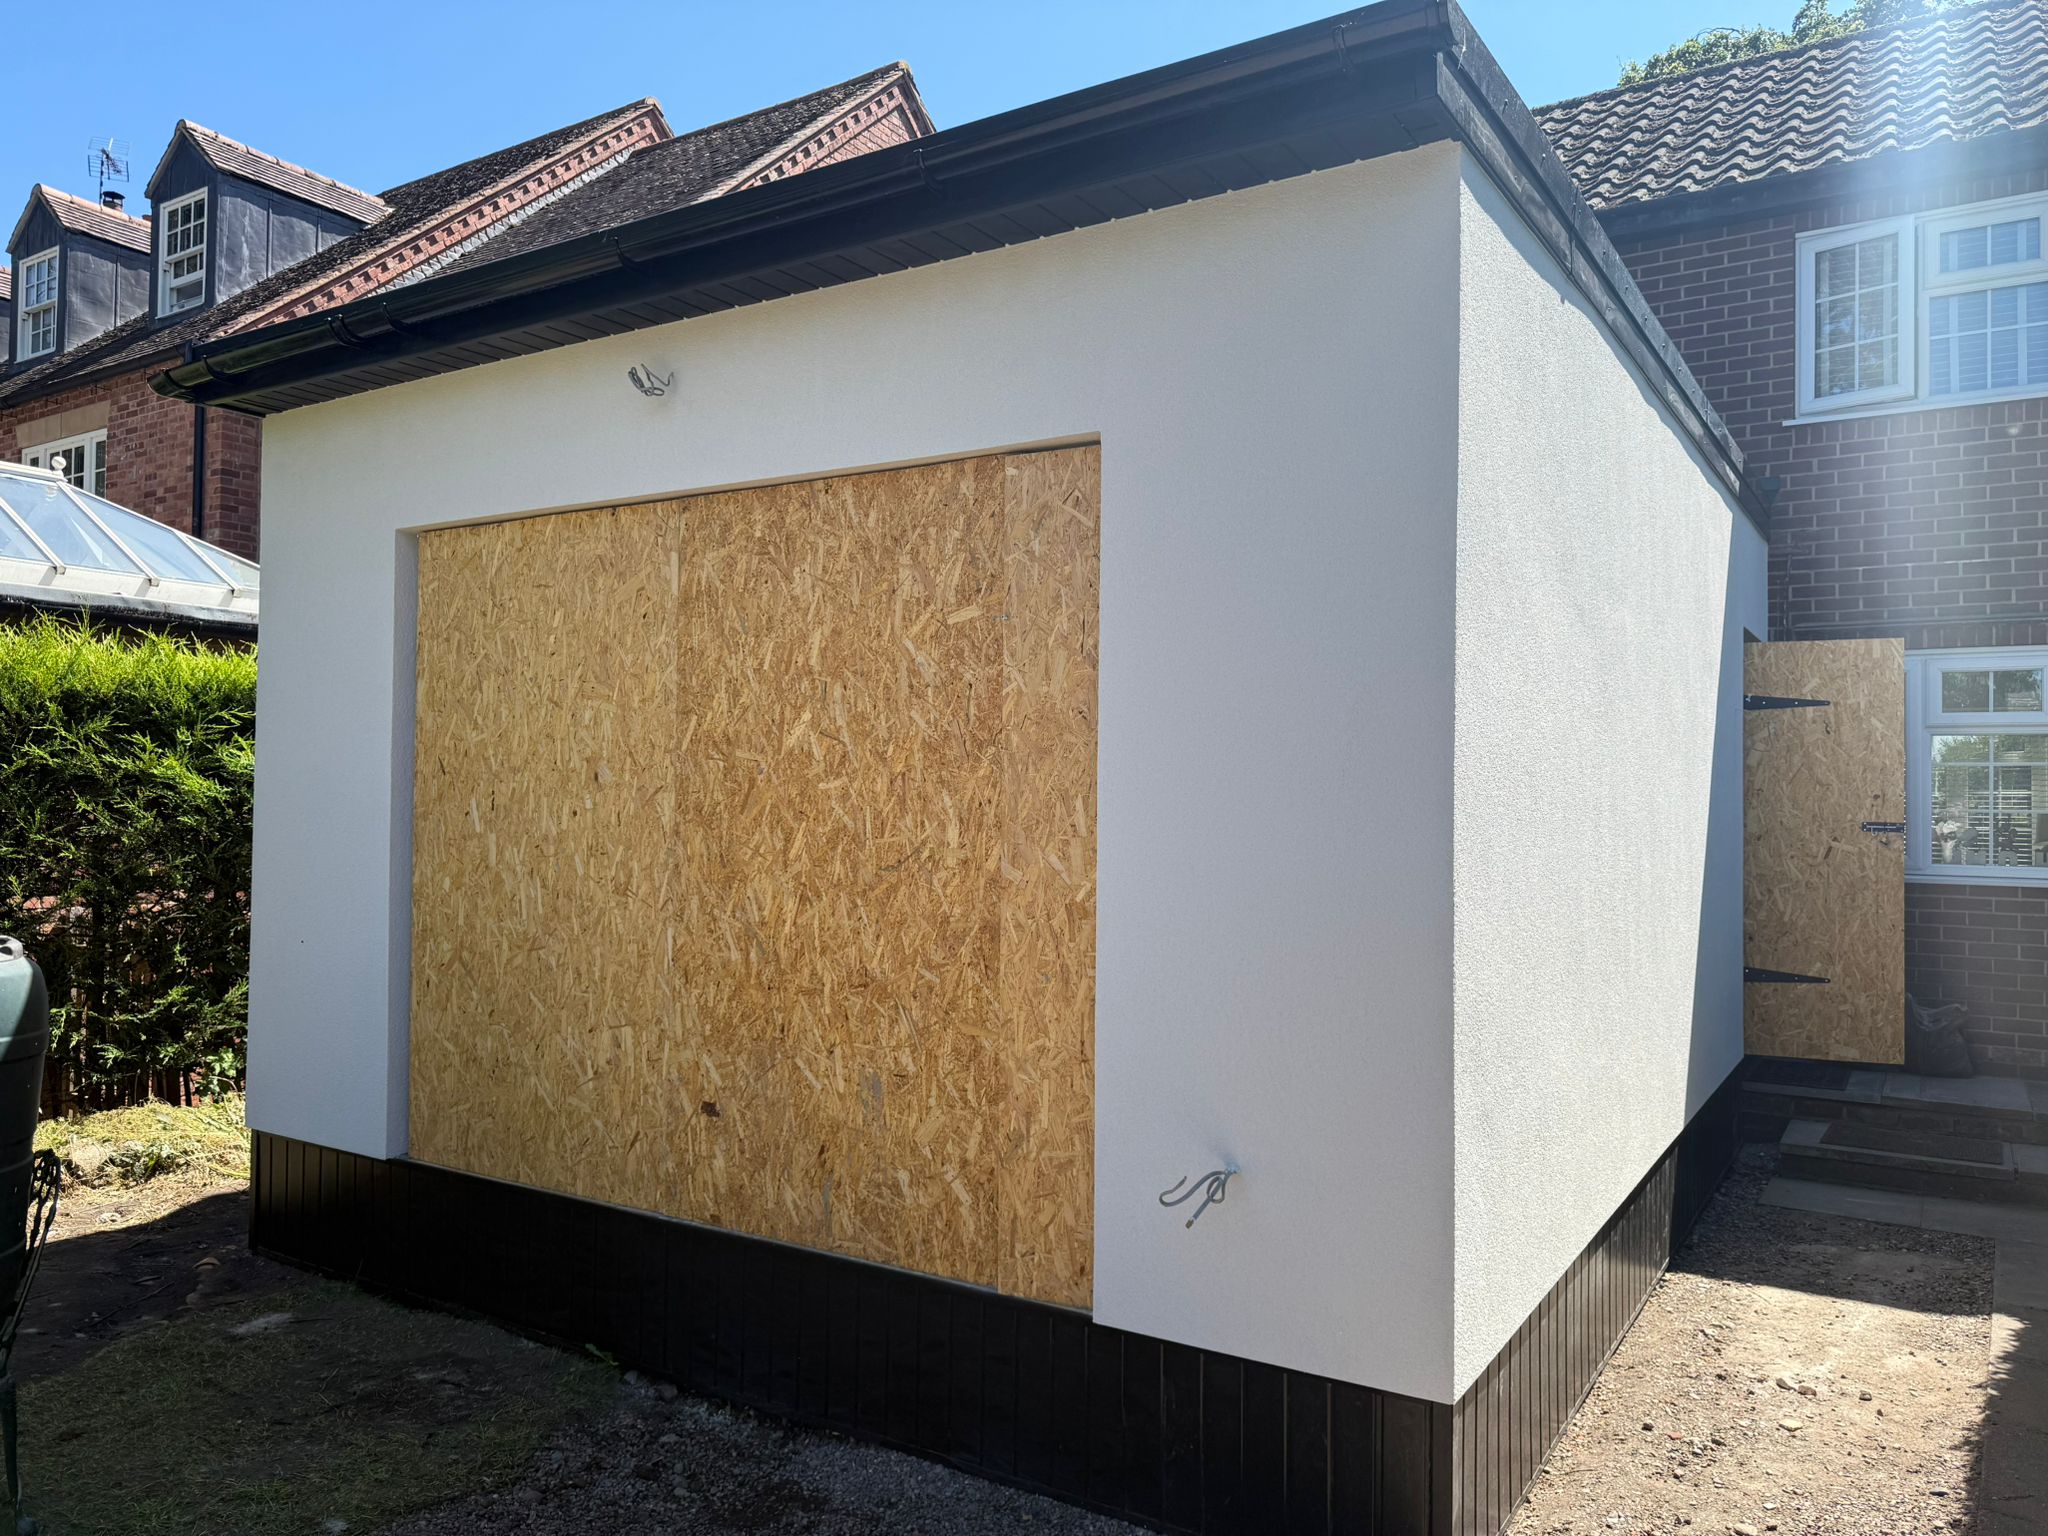
Insulating panels are first adhered to the exterior walls, ensuring complete coverage of all exposed areas. After the adhesive has set, the panels are further secured by drilling them into place. The type of insulation material, whether EPS boards, mineral wool, or another agreed-upon option, is used according to the specifications established prior to the start of the installation.
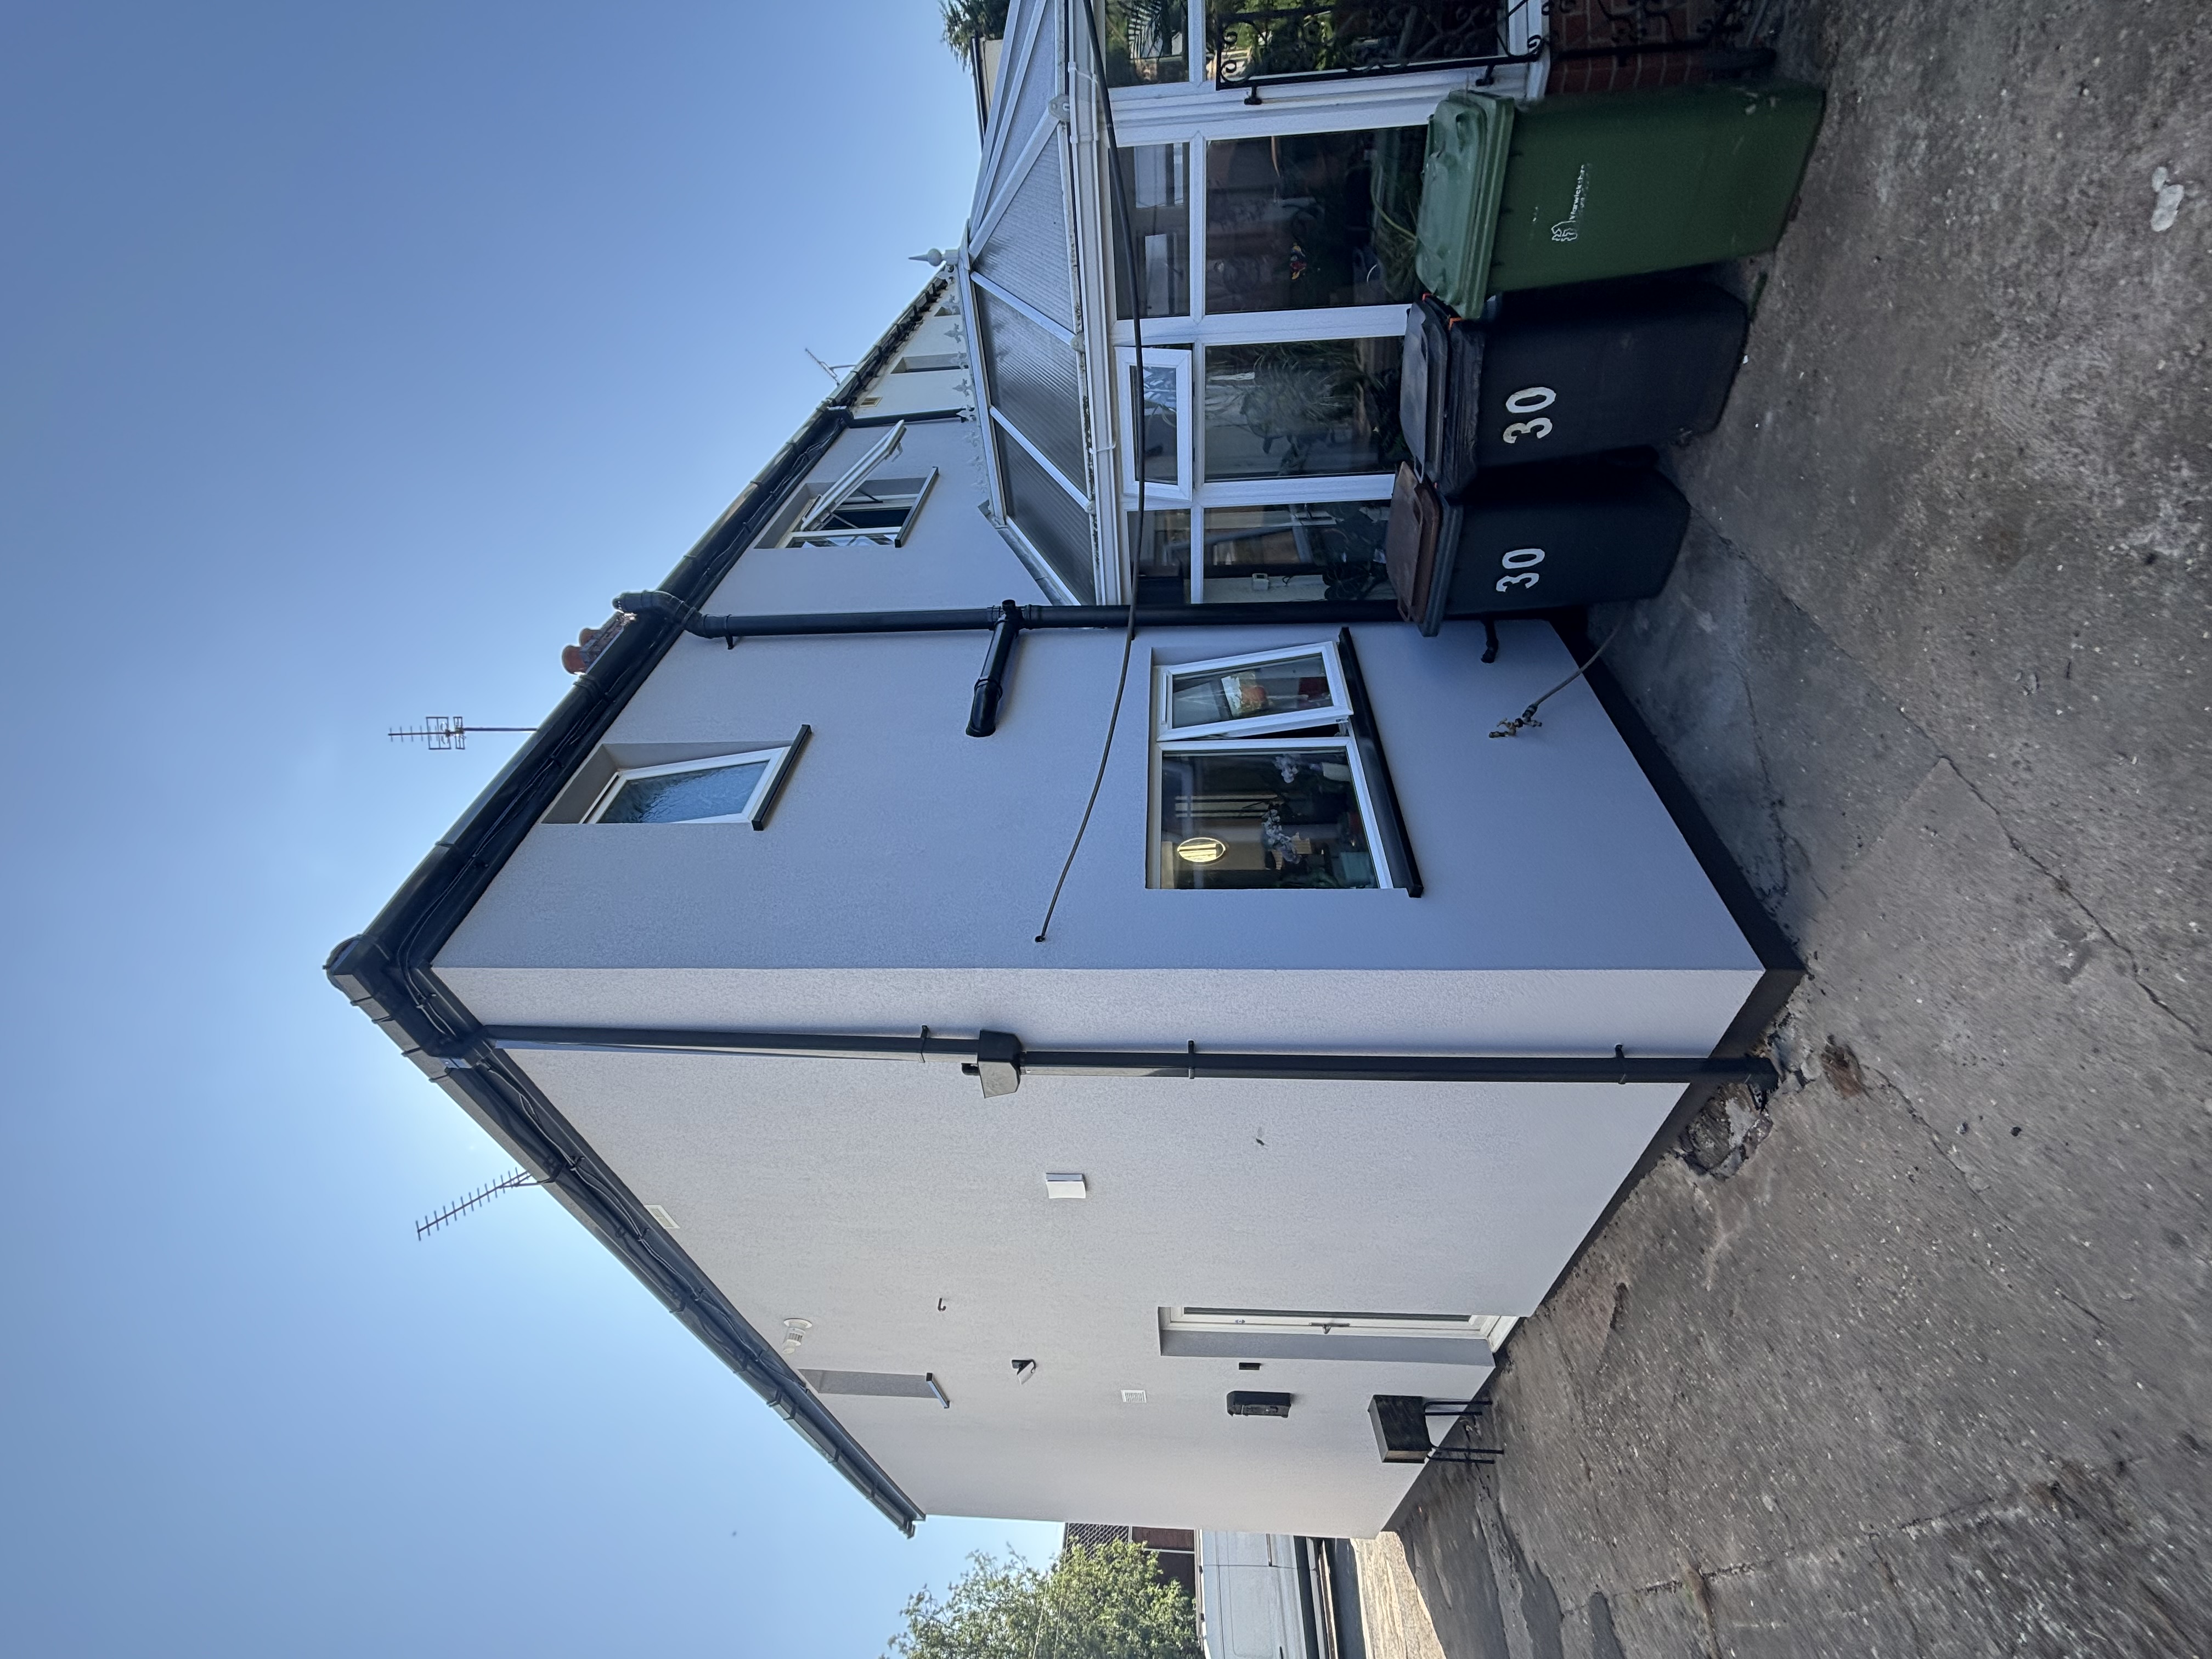
A protective layer of render or cladding is applied over the insulation panels to shield them from the elements and enhance the building’s appearance. This coating is chosen based on the customer's preferences to ensure it matches the aesthetic requirements of the property.
In the UK, Silicone, Acrylic, and Mineral are the most popular render materials among homeowners, each offering unique advantages.
Once the top-coat has dried, fixtures and fittings such as alarm systems, lights, and satellite dishes are reattached to the walls. Additionally, all protective sheeting and film used during the installation process are carefully removed, leaving the walls clean and newly insulated.
At this stage, a final inspection is conducted to ensure that everything meets the highest standards and complies with all regulatory requirements. Once everything is approved, the scaffolding is dismantled, marking the completion of the installation.

The installation time for external wall insulation varies depending on property size. Typically, it takes 1 to 2 weeks for an average semi-detached house and 2 to 3 weeks for a detached house. Larger properties may require more time. Factors such as adverse weather conditions and any unforeseen repairs, like structural issues or dampness, can also influence the timeline. For optimal results, it's crucial to use an accredited installer who ensures compliance with all standards and customer satisfaction before final sign-off.
External wall insulation and rendering not only enhance your home’s efficiency and aesthetics but also require regular upkeep to maintain their appearance, functionality, and durability.
Regular inspections can help spot and address issues like cracks, moisture, or mould before they worsen. Start with these simple cleaning methods:
Gentle Cleaning: Use a soft brush or sponge with mild detergent and water for regular cleaning. Avoid abrasive cleaners and high-pressure washing to prevent damage such as cracks and erosion.
Stain and Algae Removal: For stains and algae, mix warm water with a mild detergent or specialised cleaner. Scrub gently with a soft brush. Use a biocide for algae, following manufacturer’s instructions.
Additionally, consider professional checks by an EWI expert every few years to assess and resolve any potential problems.
External wall insulation offers a compelling solution for enhancing your home's energy efficiency, comfort, and aesthetic appeal. Careful planning and precise installation are essential, with each step being crucial to the project's success. In today’s eco-conscious world, EWI is a smart choice for homeowners looking to lower energy bills, boost property value, and improve their living environment.
Considering EWI for your home? Contact PD Rendering for a free quote and begin your journey towards a more comfortable and energy-efficient home. With over 15 years of expertise in external wall insulation and rendering, our expert team is ready to recommend the best solutions for your needs.